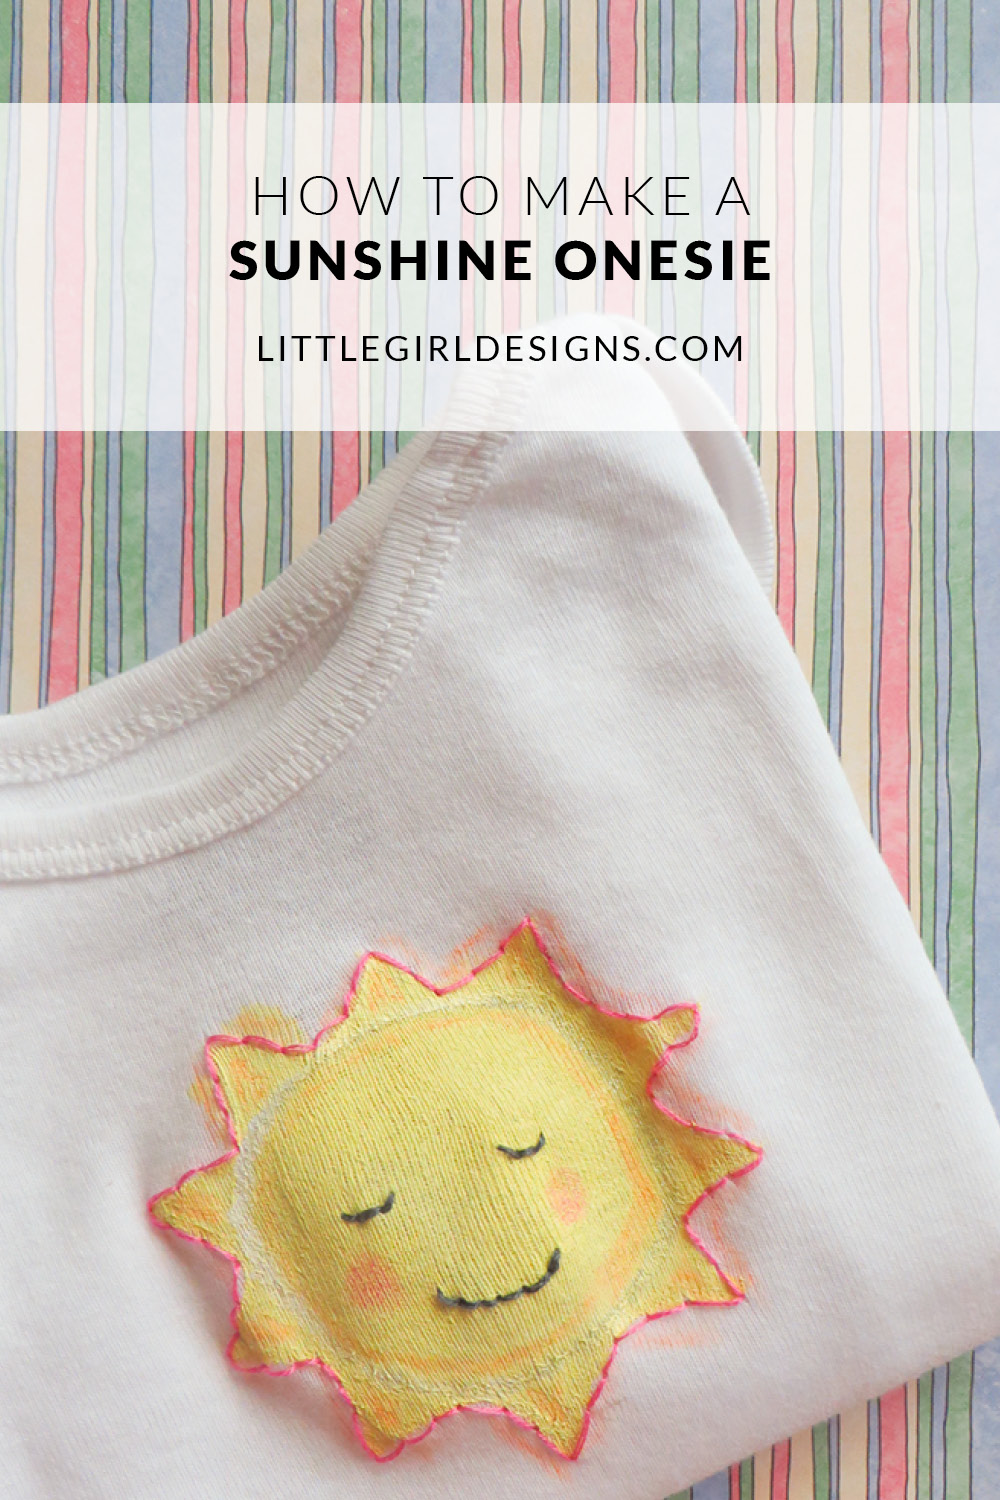
Learn how to make a sunshine onesie with this simple tutorial!
One of my go-to gifts for a new mommy are a couple of hand-stitched onesies. I’ve made a version of this sunshine onesie before without the fabric paint, but this one is super cute too. It’s just so cheery. It always made me so happy when my daughter wore her sunshine onesie when she was little.
I recommend choosing a larger size for the baby you’re making this for as they tend to grow out of the little tiny outfits so very fast. Some babies skip them altogether! I typically make them in the 3-6 months size, and then choose a long-sleeved or short-sleeved onesie depending on when baby will be able to fit her new outfit.
You can find plain white onesies at stores like Target in the baby section (or on Amazon), and all of the other supplies can be found at your local craft store.
How to Make a Sunshine Onesie
You will need:
Pencil and paper
Small piece of cardboard that fits inside of onesie
Plain white onesie
Embroidery transfer pen
Fabric paint in yellow, orange, light pink, and silver (fabric paint pens work great for the
highlights)
Paint brush
Embroidery floss in dark gray and pink
Embroidery hoop
Embroidery needle and scissors
To start, I quickly sketched a sun onto a piece of paper. This allowed me to see how big I needed to make it for the onesie. You can then take your embroidery transfer pen and sketch the sun onto the onesie fabric. This pen is great because it rinses off with water once you’re finished. You can find them at the craft store in the fabric section. Remember that a sun drawing is simply a circle with triangles around the perimeter. You don’t have to make this perfect; the sketchy quality makes it unique and cute.

Because I’ve made many of these in the past, I didn’t use the embroidery transfer pen for my drawing (otherwise you would see blue marks in the picture below.) Place the piece of cardboard inside of the onesie just in case the fabric paint seeps through to the other side. Open up your bottle of yellow fabric paint and paint in the sun. If the paint is too thick, you can water it down so it is a smoother consistency. Alternately, you can paint the sun in using fabric paint markers. They are amazing and offer a lot more control than regular fabric paint.

This is what the onesie will look like once the sun is complete. The paint did bleed a little on this particular onesie but I wasn’t worried because I knew I was going to be stitching over the edges anyway. Allow the painted sun to completely dry.

Next, place the onesie into an embroidery hoop. Stitch the eyes and mouth of the sun using a straight stitch as shown. I recommend stitching one eye, looping the thread in the back to knot, cutting the thread, and then moving onto the next eye. Otherwise, chances are you’ll be able to see the embroidery thread through the thin fabric of the onesie.
Once you’re finished with the eyes and mouth, thread a piece of pink floss onto the needle, and use a straight stitch to outline the sun. I typically use 3 strands of floss for these projects but if you want a lighter line, use one strand. For a darker line, use all 6 strands.
Now is the fun part! Using your fabric markers, highlight the inside circle of the sun with silver and then with orange as shown in the picture below. Use the orange fabric marker to add additional highlights throughout and add a pop of pink for the sun’s cheeks. Too cute!

Package this onesie with some essentials for mom (snacks, cute water bottle, etc.), and you’re set! You could even make your gift “sunshine-themed” and buy baby essentials and snacks that are yellow or gold. How fun would that be?
Hope you have a wonderful {and creative} day!


