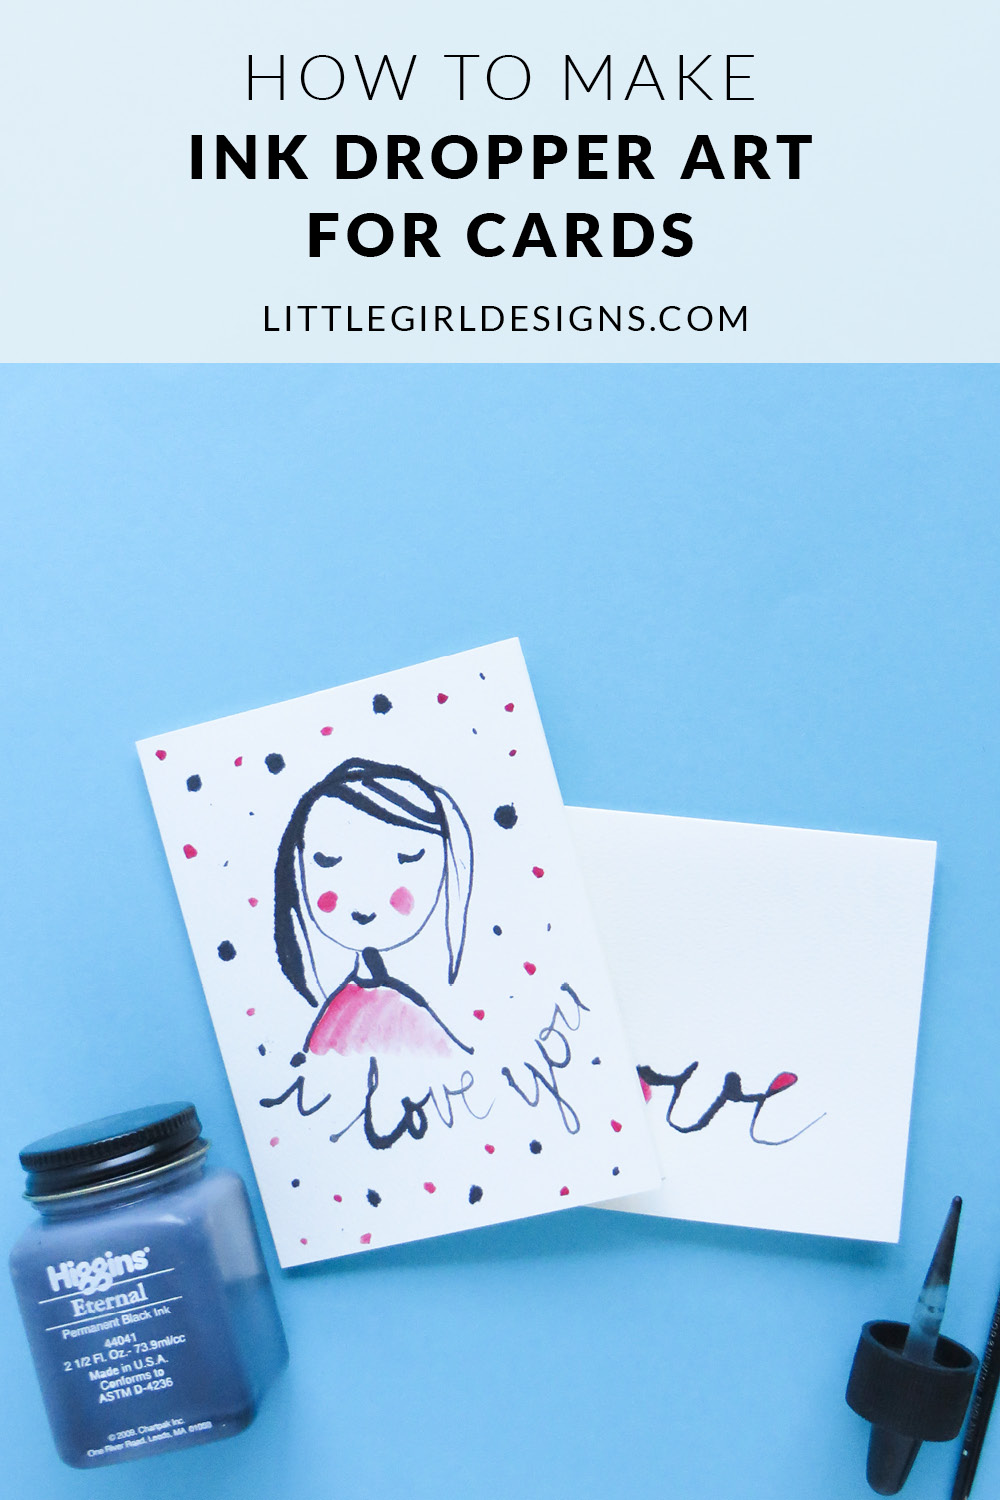
Learn how to make ink dropper art that you can use for cards, prints, and whatever your creative heart desires!
A few months ago, I shared how much I love the Drawing Lab for Mixed-Media Artists book. At the time, I admitted I often just flip through art and craft project books for inspiration but don’t always make the time to work through each lesson page by page. This one has been an exception, that’s for sure. I’ve made so many projects that I had to renew the book at the library one hundred times (slight exaggeration) and then finally, sadly had to return it.
One of the projects introduced me to ink dropper art, and I LOVE it. I had seen this technique through the works of other artists and had often wondered how they did it (but obviously had not followed through with any research.) If I had only known it was this easy…
This is a great project to do with kids, though due to the permanent ink factor, you might want to do this one on your own.
How to Make Ink Dropper Art for Cards
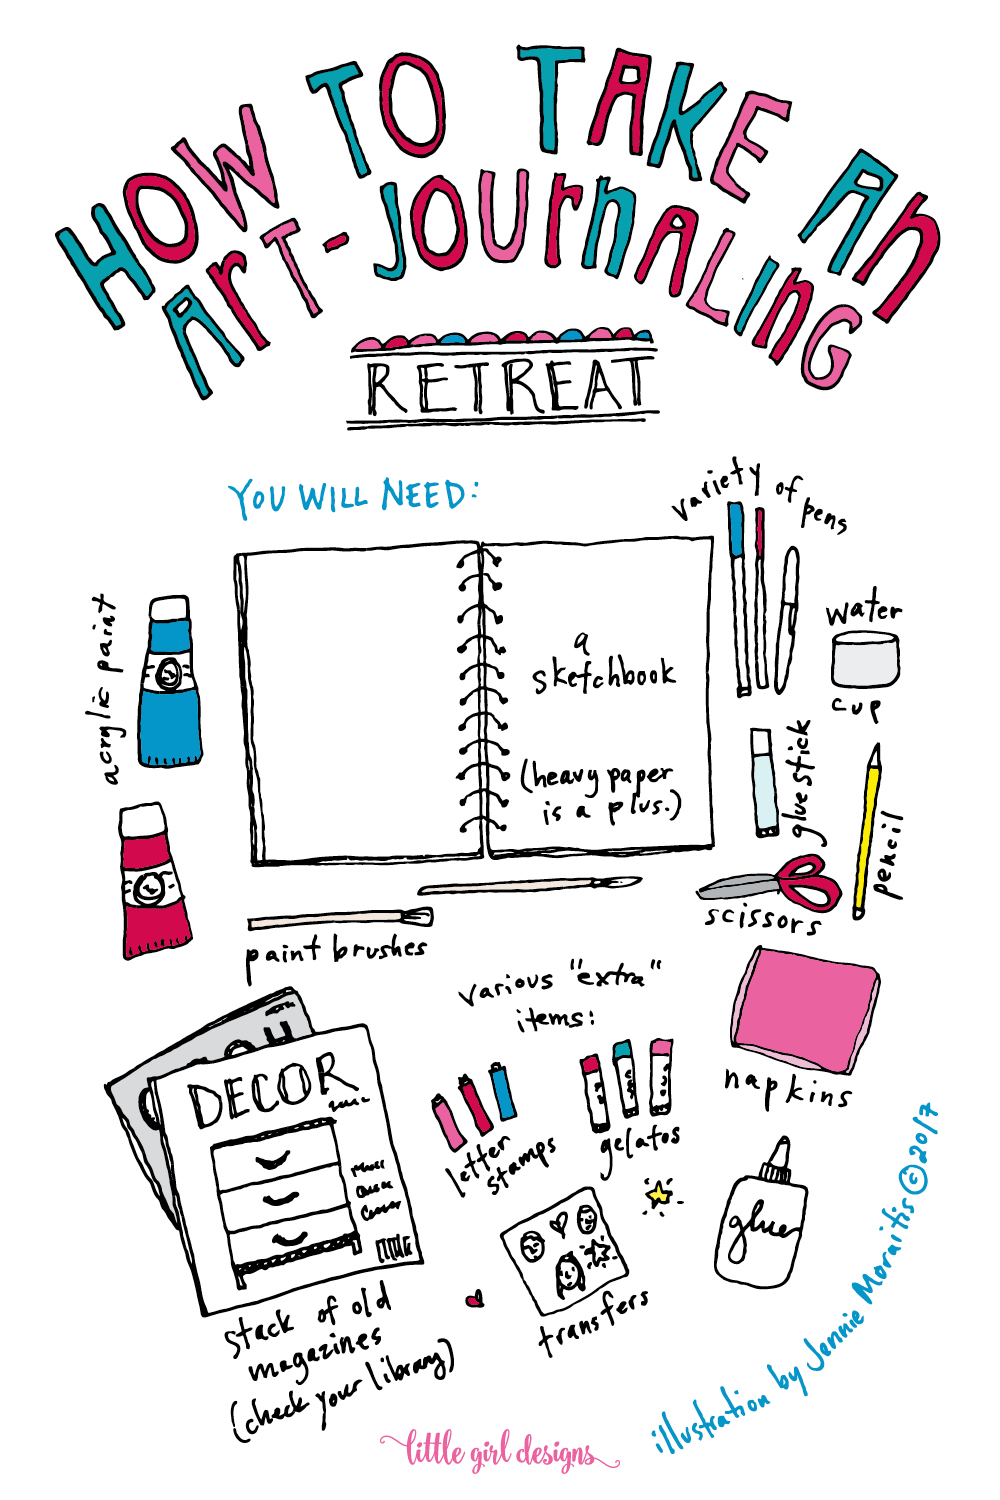
You will need:
Permanent Black Ink
Ink Dropper
Tray to hold ink dropper
Several squares of toilet paper (as needed)
Blank cards (These are the ones I used)
Watercolors (if you’d like to add color)
Paintbrush and water

This is a super fast project so get all of your supplies ready before beginning. Make sure you have a plastic tray of some sort to lay the dropper onto when you’re finished. Have the tissue ready if you’re using a lightweight paper. I used a heavier card stock for the cards pictured and the ink immediately sunk into the paper, so I didn’t have to blot it.
Fill the ink dropper with ink and place it over the paper. Working fast, squeeze the dropper while you draw your image or word. You’ll notice the ink will come out fast at times and slower at others. That’s part of the magic!
As soon as you’re finished, take the tissue (if you’re using one) and carefully lay it directly onto the image. Do not move the tissue for a second and then lift carefully up. Doing this will thicken some lines and blur others a bit. Don’t let yourself think, “My drawing is ruined!” It’s supposed to look like that.

When I first started playing around with this technique, I filled up several sketchbook pages with words and simple sketches. It was so fun. I especially like the tissue factor because it adds some mystery to the process.
Once the black ink is dry, add some watercolors to create pops of color. You can also leave your cards as is. Let the cards completely dry, and then fill them with love and send them to a friend. 🙂 If you need some help with writing, click here for 18 prompts.
Have you ever made ink dropper art before?