Of all the planning methods out there, I have discovered the simple bullet journal method to be my favorite. It has been the most beneficial in helping me to set and meet goals, as well as stay organized.
For years, I bought beautiful planners that I enthusiastically started on January 1st, only to face disenchantment by June. Many of them had pages I didn’t want to use (why would I write out my budget when a spreadsheet is about a million times faster?), and I never had enough blank pages for the odd lists I needed to make here and there for my life.
Discovering the bullet journal method changed all of that for me. Although the current trend is to plan elaborate and beautiful layouts for each page, I have found my simple layout method has been the best in terms of productivity. (Also, I’d rather use my creativity time in my happy journal and for other creative projects. :))
With that said, I still want to have some sort of creative expression in my bullet journal. For me, that’s where the cover comes in. I also create a vision board on the interior pages for my word (or words) of the year and goals. I’ll share how I do that in a later post.

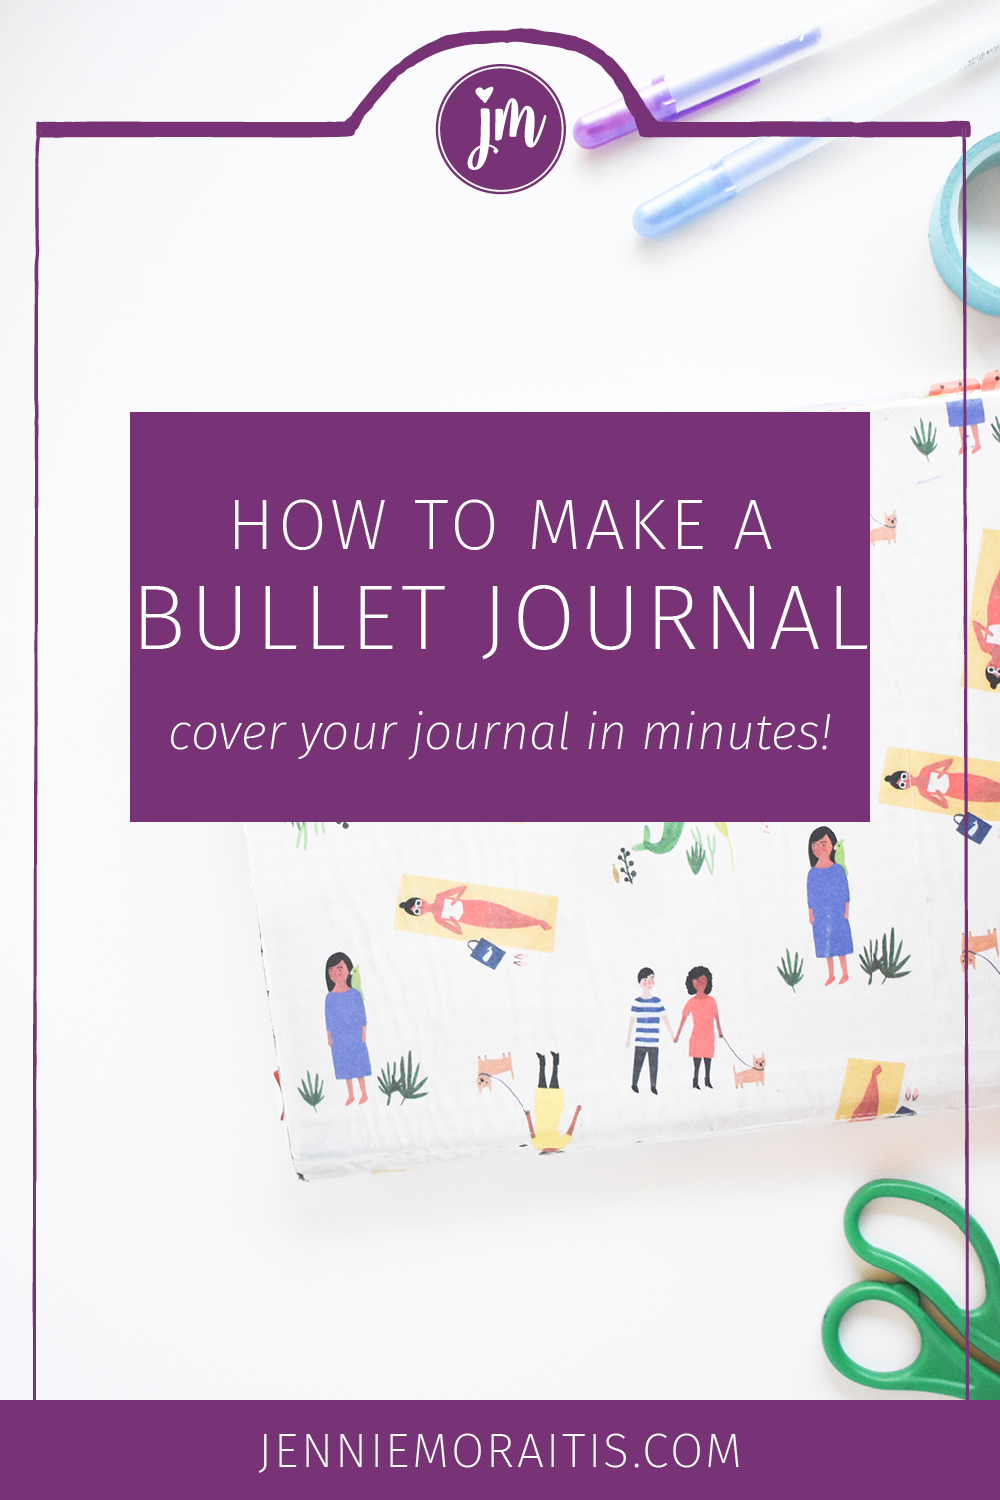
For today, I’ll show you how to make a simple bullet journal using a composition book and a few supplies you probably already have around the house.
Though my interior “layouts” are more utilitarian, I do like to spend some time decorating the cover of the book I’ll be carrying around for the next few months. (I find my bullet journals tend to last 3-4 months each. This is dependent on how much you use your journal.)
How to Make a Simple Bullet Journal
You will need:
One composition book
Gift wrap
Scissors
Glue stick
Washi tape
To start, I choose a sheet of gift wrap to cover my composition book. I purchase Flow’s Book for Paper Lovers once a year and use the wrapping paper enclosed to cover my journals. I also use their stickers and stationery throughout my bullet journal.

Wrap the gift paper around the book, and use a pencil to mark where you will cut the paper. It’s a good idea to cut the paper slightly larger than you need, just in case. Sometimes I cut the paper about an inch larger than the journal and fold the edges over to the inside of the book.
Starting with the front cover, apply the glue over the entire surface. Press the gift wrap onto the cover, and move to the spine. Cover the spine with glue, and firmly press the gift wrap along the edge. Repeat this procedure with the back cover.

Be sure to smooth out any wrinkles as you move along. I recommend using an opaque gift wrap as you don’t want to see the composition book underneath. Also, don’t use regular white glue as it has the tendency of making the gift paper bubble and tear.
Finally, use washi or clear tape along the edges of the entire journal to make sure it stays in place.
Now your homemade bullet journal is ready to filled with your creative ideas, planning, and LIFE!
I’ll share how to make a simple weekly layout next. This method is meant to allow you more time to actually work on your goals rather than spending time stressing over if you’re getting your layouts “just right.”
P.S. If you’re not into decorating composition books, you can also purchase one that is “pre-decorated” like this one. That way, you can get started IMMEDIATELY. 🙂