When my mom was a teacher, she would often round up a stack of discarded books from the library at the end of the school year and give them to me. Some of these books were childhood favorites that were worn from overuse but some were uninteresting tomes that were a bit painful to read. Still, when it comes to books, I struggle to throw them away. I’ll donate them, give them away, sell them . . . but throw them away? I don’t know why that is hard for me, but it is.
That said, with the books that were less than stellar story-wise but at least had promise in terms of older paper, good binding, etc., I thought I’d keep them to be used as art journals. I had a roommate years ago who did this and I was so inspired by her doodles and sketching (over the words in a book! Revolutionary!) that I wanted to try her techniques .
As I’ve moved many times since I was first given those books, my supply has dwindled down to two books, and honestly, up until last year, I never used them as an art journal. Oops. I never even cracked them open. I still had the project in the back of my mind like many of us do as a ‘someday project’. Other than using old books as art journals, I had also seen how many artists were using scraps of book pages in their collages or as the basis for an entire art piece.
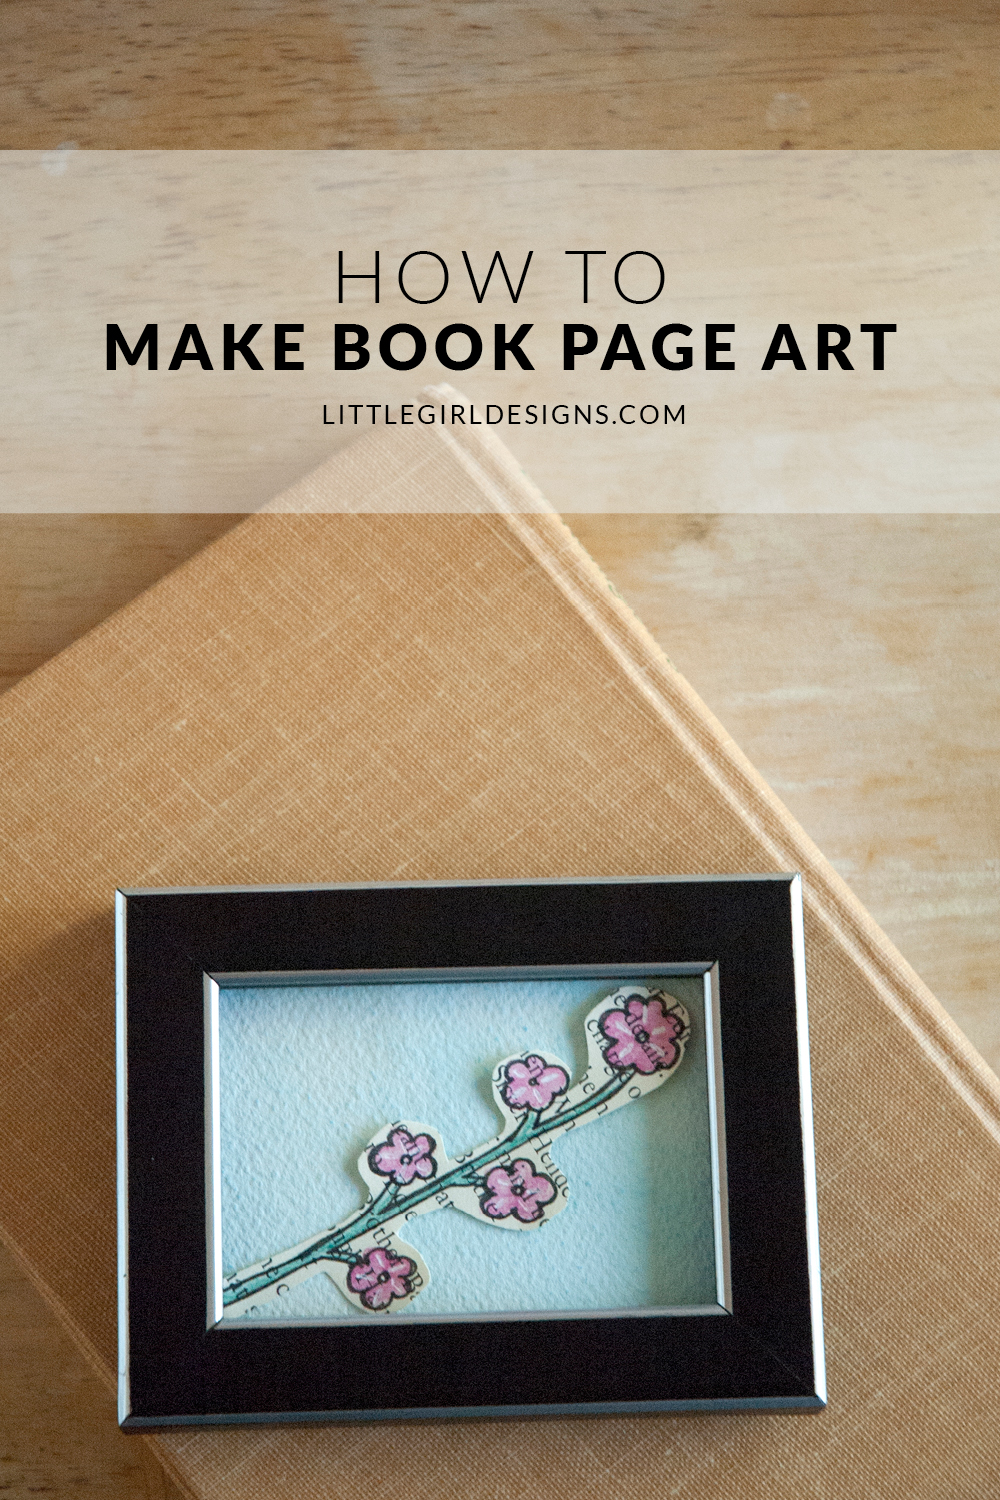
I decided to join this movement and try to make my own piece of book page art. My first attempt went terribly wrong in a very funny way but my second try turned out really cute. One thing I learned was to draw the flowers small enough so the words wouldn’t distract from the picture itself. This project was so simple, I’m inspired to make more of these.
How to Make Book Page Art
You will need:
One page from an old book
Pen (I use micron pens because they’re waterproof)
Scissors
Small piece of watercolor paper
Double-sided tape
Watercolor paint or pencils
Paintbrush
Water
White gel pen
Small picture frame
To begin, draw the design onto the book page, making sure that it will fit into the frame. You might want to pencil in the frame size on the paper and then erase it later if that helps. Carefully darken the lines so you have a nice, thick line that pops from the page.

Color the design in using the watercolor pencils or watercolors. If you use watercolors, use a very small amount of water since too much water will warp the picture. After the paint dries, add highlights with the white gel pen and cut the image out.

Cut a small piece of watercolor paper that fits the picture frame and paint it. I chose to color this paper with my blue watercolor pencil and added water to it to blend. If you use watercolors, wet the paper first and then dot on the paint. This will create a lovely background for your mini masterpiece.

After the background dries, use double stick tape to attach the book page art and place it in the frame. Isn’t this the cutest? I had some mini frames in a drawer, and this project was the perfect use for them.

I also had to make a tiny owl. He is just too cute!

I’m so glad I tried this project. It was something I’ve wanted to make for a while now but I just never made the time to try. It honestly was very simple to make, and I think it would easy for older children to make as well. You could make it a little easier for them by having a simple template of a design to trace, although many kids have no problem thinking up wonderful designs on their own!


4 responses to “How to Make Book Page Art”
No but I will now. I can do this! I am going to color on some leaves too. Thanks for the inspiration.
You’re so welcome, Mary Beth! 🙂
I love this idea! I’m like you and never throw unwanted books away if I can avoid it so using them in art is a great idea 🙂
Thanks, Stacey! Think of all of those pages as potential art supplies…:) I especially like it when the books look a little aged on the edges. Hope you have a great day!