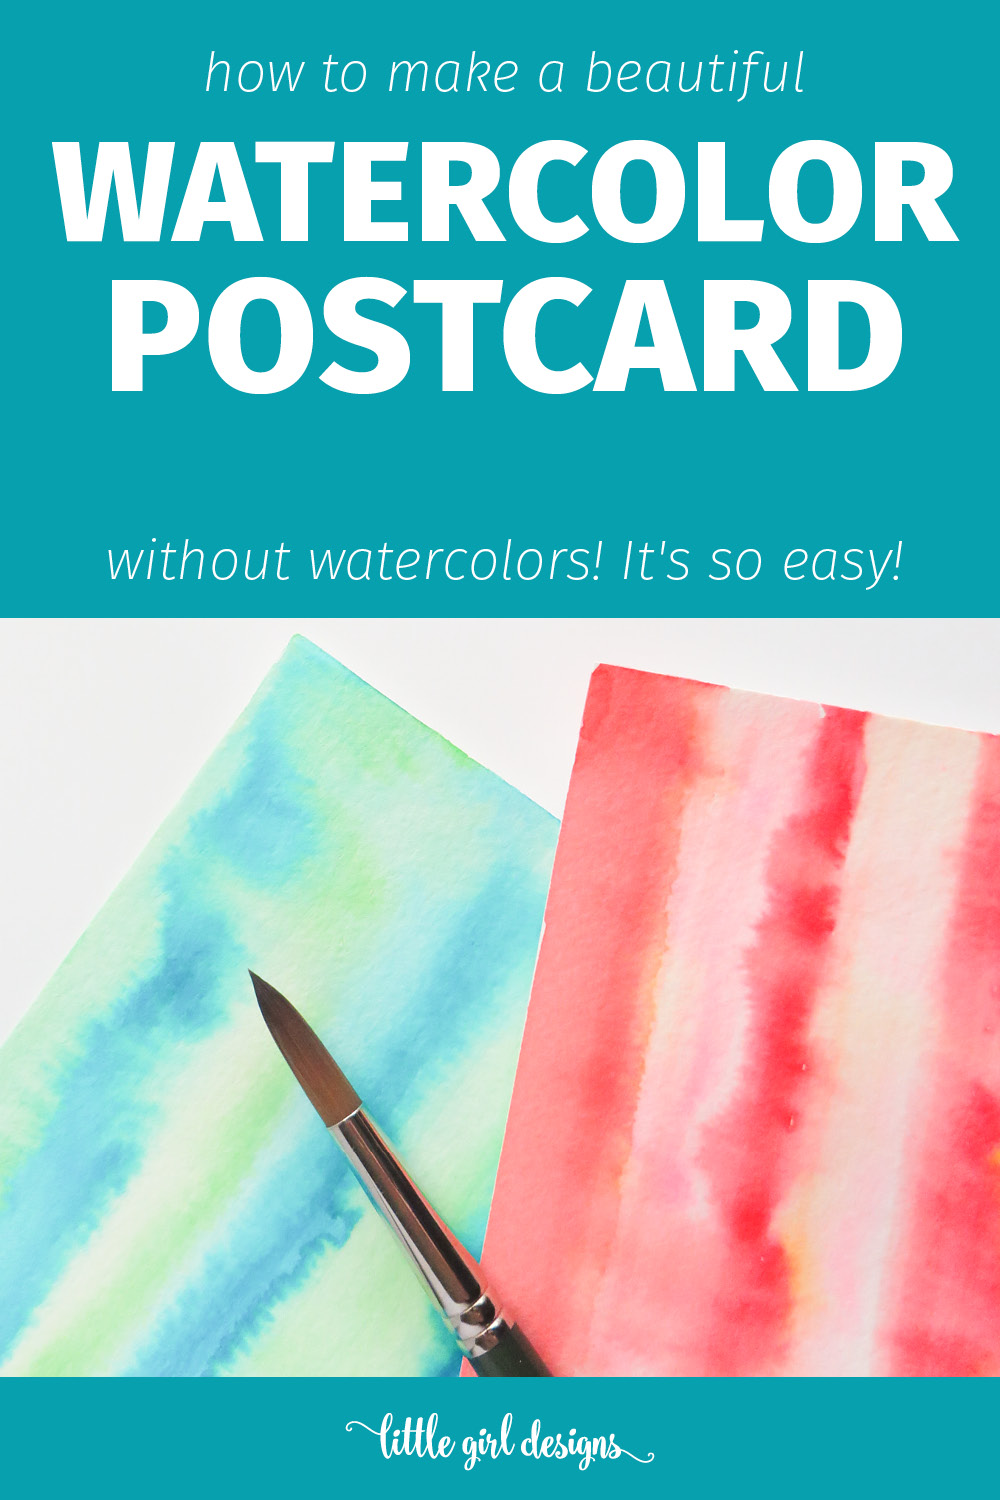
This watercolor postcard method is so easy you can teach your kids to do it. Which is exactly what I did the last time I was with my nieces. They were drawing away and saw that I was making watercolor backgrounds in my art journal. The fact that I was not using watercolors intrigued them and pretty soon I heard one of them ask Nana where the markers were. 🙂 We happily turned all of our drawings into watercolor-esque landscapes that morning! I’ve also used this method with my toddler, and she LOVES it.
I first discovered this method from Carla Sonheim who shared it in a cute bunny tutorial on her YouTube channel. I’ll share how you can make watercolor postcards, but you can use this technique for art journal backgrounds or larger pieces of art. I wonder what it would do on fabric . . . (Stay tuned, because you know I’m going to check!)
Anyway, what I love about this method is that it is pretty much foolproof, AND most of us have water soluble markers lying around. If you’re not sure what a water soluble marker IS, that means that when water touches it, it kind of melts into a watercolor look. Crayola, Tombow, and many other pens are water soluble. The easiest way to check your pens is to make a mark on paper and then paint a line of water over it. If it’s water soluble, the ink will almost instantly begin to spread.
How to Make a Watercolor Postcard
You will need:
One or more watercolor postcards
Water soluble markers (I used Crayola)
Large watercolor brush (I used size 12)
Water
To start, choose colors that are all cool (blue/green) or warm (orange/red.) This will keep your colors from running into each other and making brown mud. For this tutorial, I chose warm vibrant colors.
Draw lines in various thicknesses across the postcard. (p.s. You can make 2-inch swatches in your mixed media sketchbook to see which ones you like best, if you’d like.)

Dip your brush in water, and paint over the top line. Make sure you get a lot of water on your brush because you want the colors to run and blend beautifully. I tend to paint one line at a time, gently spreading the color to the edges, and then rinsing my brush before I start a new color.

Here’s what my postcard looked like after I finished adding water to the first red line. You can see how the color is starting to spread downwards.

I continued to paint each line and let the colors blend. Try to not over blend as you will end up with one big color swatch instead of a gradient. Let the card completely dry.

At this point, you can add text by using a brush pen or you can draw a simple design on top. For the moment, I’m leaving these as is, but I have a feeling they’ll receive some added decoration soon. 🙂
Have you ever used water soluble markers to paint?


4 responses to “Make a Watercolor Postcard . . . Without Watercolors!”
How fun! I’ve never tried this before. It does look just like watercolor 🙂
Thanks, Krista! You should try it—it’s rather addicting. 🙂 I’ve also tried this method over dried gesso. Works so beautifully! Hope you have a great weekend. 🙂
i can t wait to try this …
Thanks, Randi! It’s a lot of fun. 🙂