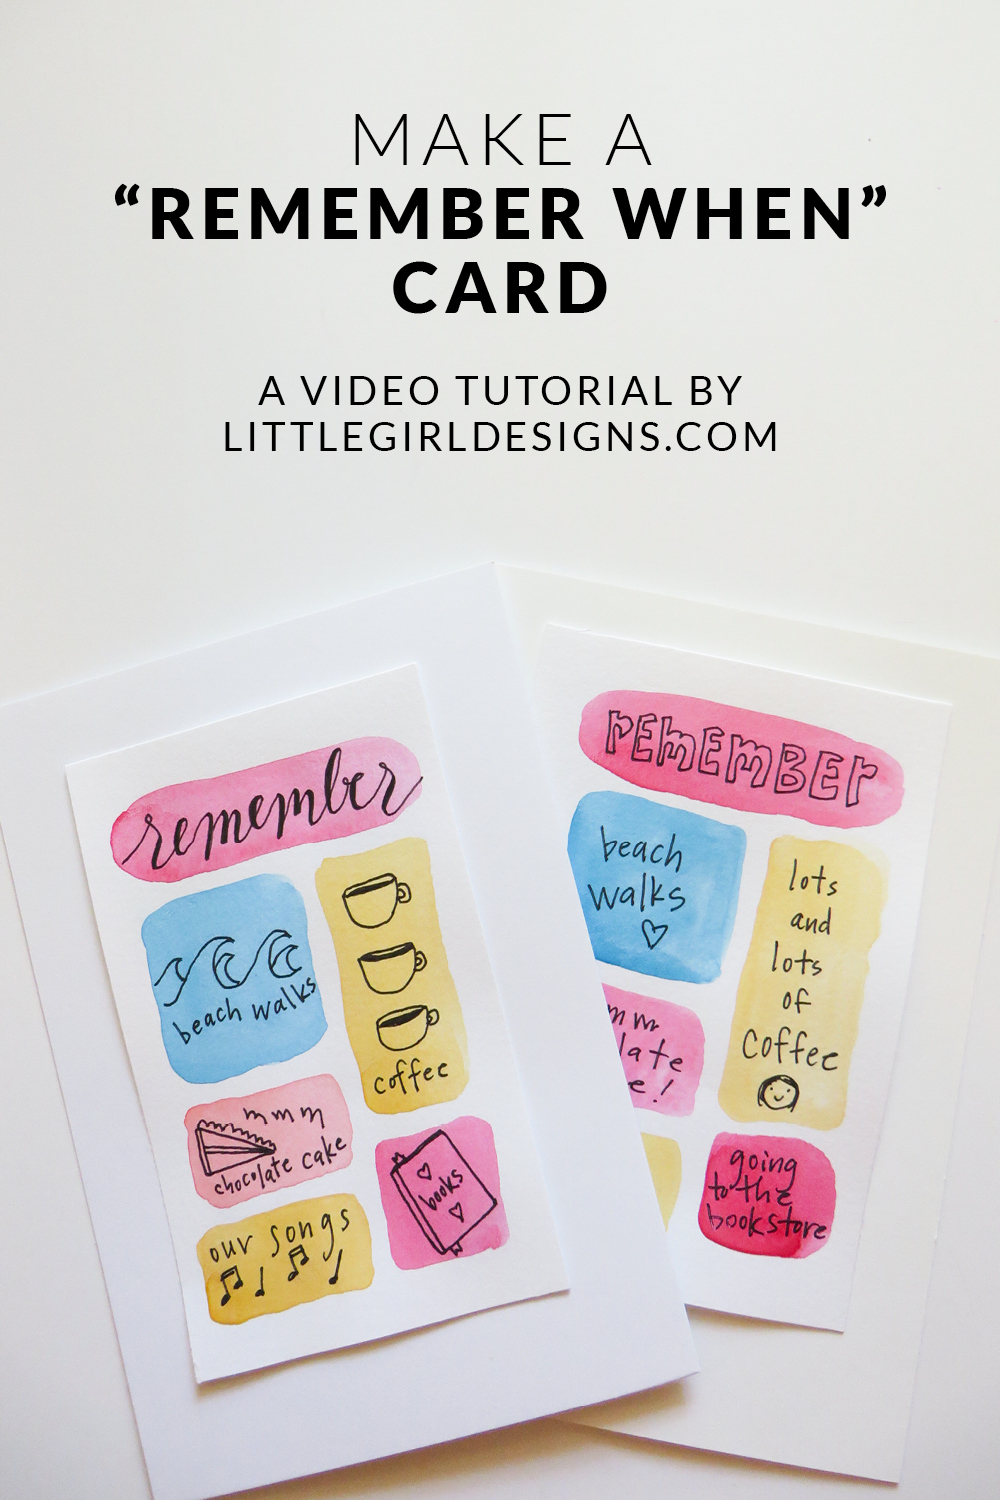
A “remember when” card is one of my favorite kinds of cards to make for someone. It’s pretty easy to whip one up, takes a minimum of supplies, and packs a nice “ah!!!” punch. 🙂 Rather than write out all of the steps for you to take, I recorded a video so you can watch me make two different designs. You’ll see that one card is more sketchy and the other is pretty much only words. The second one is for those of you who might be a bit nervous about drawing. Words work great too! 🙂
Before we get started, here’s a quick run down of the supplies you will need:
How to Make a Remember When Card
You will need:
Scratch piece of paper
Watercolor paper or heavy card stock (that can withstand watercolors)
Watercolors
Water
Paintbrush
Black waterproof pen (This is the pen I used.)
Plain card
Scissors or Xacto knife to cut paper
Glue or adhesive to attach your drawing to the card
Use your extra piece of paper to write out several ideas of things you could sketch or write out about the fun memories you’ve had with your friend. A coffee cup could signify all of those trips to the coffee shop you made back in the day while a sketch of a pair of tennis shoes might remind you both of that time you ran a 5K together and survived. If you’re going to sketch your memories, think of simple icons you could use that would signify each item.
Now check to see how large your plain card is. You’ll want to make note of this mentally or sketch a guideline onto your watercolor paper so you won’t make a large drawing that can’t fit onto the final card. You’ll be cutting this drawing out in the end and affixing it with glue or adhesive.
Use your watercolors to paint one larger rectangle or oval on the top of the watercolor paper section so you can write “Remember” over it when it’s dry. See my examples to get an idea of what to do. Paint shapes of different colors onto the watercolor paper–one for each item you’re remembering. Let these completely dry and then watch my video to see what to do next!
When you’re finished drawing, cut the image out and affix it to a blank card. How fun is that? As I mentioned in the video, you can use this same technique to create a larger piece that can be framed or to decorate a blank journal.
Have fun!


4 responses to “How to Make a Remember When Card”
I love this idea! I’ve done a similar thing before but this is nice and polished. The watercolor frames each memory! LOVE IT!
Thanks so much, Erin! That means a lot coming from you–you’re so creative. 🙂 Hope you have a great day!
What a FANTABULOUS idea! So simple and yet so meaningful. Loved your walk-through video (felt like we were crafting together like in my dreams, ha ha). Plan to use this for some friends celebrating birthdays this spring! Thanks for the whimsical inspiration, Jennie.
Lauren, you’re the best. 🙂 That’s awesome that you’re going to make these for your friends. They’re going to LOVE them! 🙂 🙂