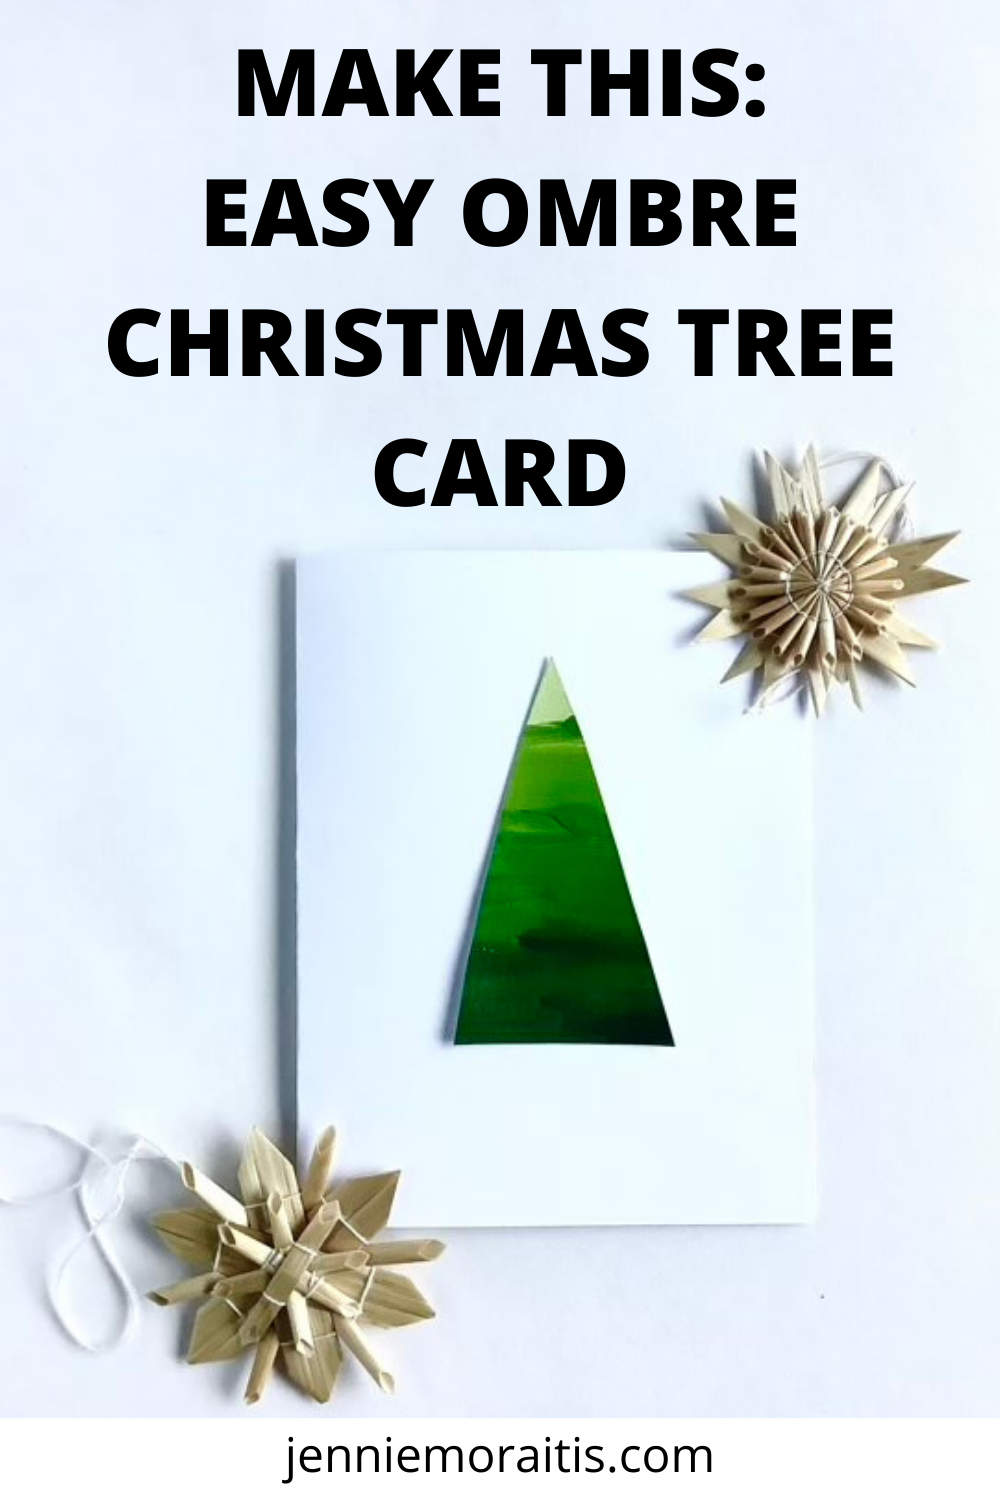
These simple ombré Christmas tree cards are an ode to the paint chip cards I use to easily find at my local grocery store. During the pandemic, the entire paint section was reduced to an aisle and the paint chips disappeared. I didn’t think much of it until I found a cute tutorial on how to make a paint chip card for Christmas and couldn’t find said paint chips in the usual aisle.
But not to be deterred, I figured we could make our own ombré style paint chips using acrylics. And it was so easy, I’m not sure why I didn’t think of this to begin with. Because you only need to paint in a straightish line, this project is doable for kids too!

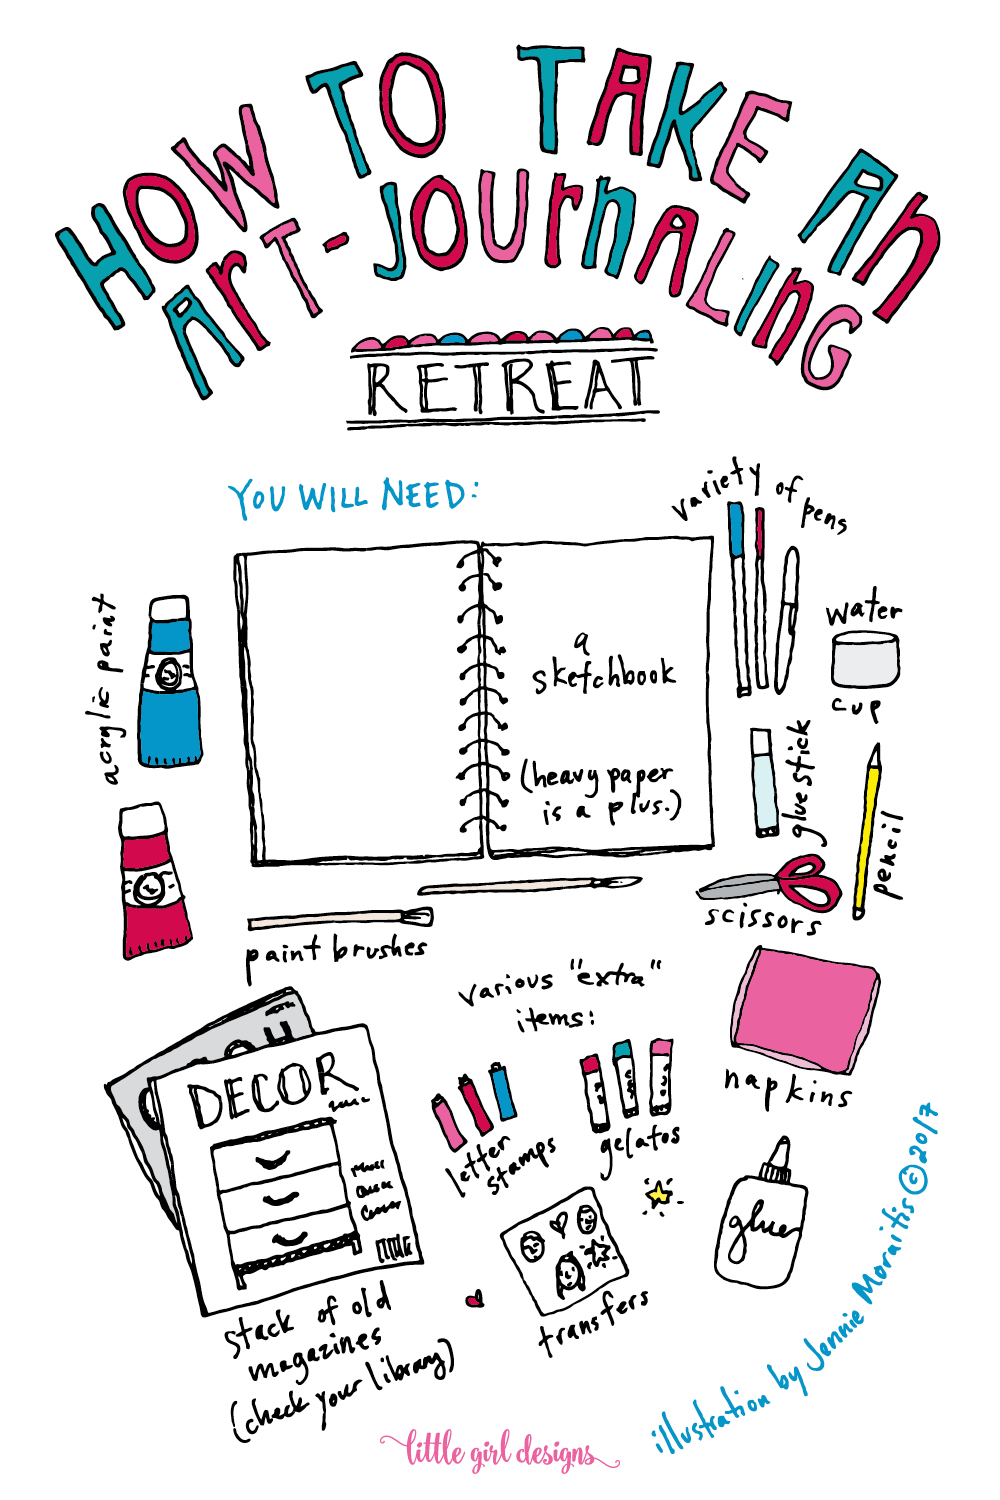
What You Will Need:
Pencil
Acrylic paint in four shades of green
Paintbrush
Water in a cup to rinse paint
Mixed media paper or watercolor paper
Scissors
Blank card
Glue
You could also mix paint to create shades of green, starting with the darkest and adding a bit of white. You don’t have to use fancy paints for this project at all.
To start, draw a light pencil line across the page. Continue ruling the page with lines about one inch apart. The width of your ombré effect really depends on the size of card you’re using. In other words, you’ll want to draw lines closer to together if you have a small card and farther apart if you have a larger card. (You can place the card on the finished paper to see if four lines will fit onto it before you continue with paint.)

Note: You don’t have to use a ruler to draw these lines, but you can if you want. The paint will most likely be a bit uneven anyway and adds to the charm of the card. 🙂
I drew lines on the paper horizontally and ended up with eight spaces for paint.
To start, mark which paint will go where (lightest to darkest), and paint the lightest spaces first. Rinse your brush and move to the next darkest. We made drew a “code” on the paper so our daughter could easily match the paint to the space on the paper.
Once you’re finished painting, let the paint completely dry. You can use a hair dryer to speed up the process. I put the paper aside, and we finished the project the next day.
Now it’s go time! Cut triangles out of the paper making sure to get a piece of each color. You can also lightly mark where to cut if you want your kiddo to help. We found that the scraps for this project were a lot of fun to use in collage.

Glue the trees to the card, and you’re finished. Depending on the size of your paper, you’ll be able to make many ombré Christmas tree cards.
I hope you enjoy this craft and have a lot of fun making it. Have a lovely {and creative} day!


