I’ve been wanting to make clay ornaments since I first started playing with air-dry clay last spring, but have been putting it off. Don’t ask me why—I’ve never had a problem making ornaments at non-Christmasy times of the year. But for whatever reason, I procrastinated until I realized I needed to get with it because I’m going to be taking next week off for a little blog vacation (yippee!!)
These are a great project to do over break should you be stuck inside with the rain pouring or snow blowing outside. Or maybe some of you are stuck inside because it’s hot and muggy…Whatever the reason, these ornaments will be a welcome diversion. I’ve noticed many takes on clay ornaments and decided I would try to make three different versions. Have fun!
How to Make Clay Ornaments
You will need:
Air-dry clay (I use the Crayola brand)
Tray lined with wax paper
Circular cookie cutter
Watercolors and/acrylics
Clear stamps (that you can wash off easily)
Toothpick
Water
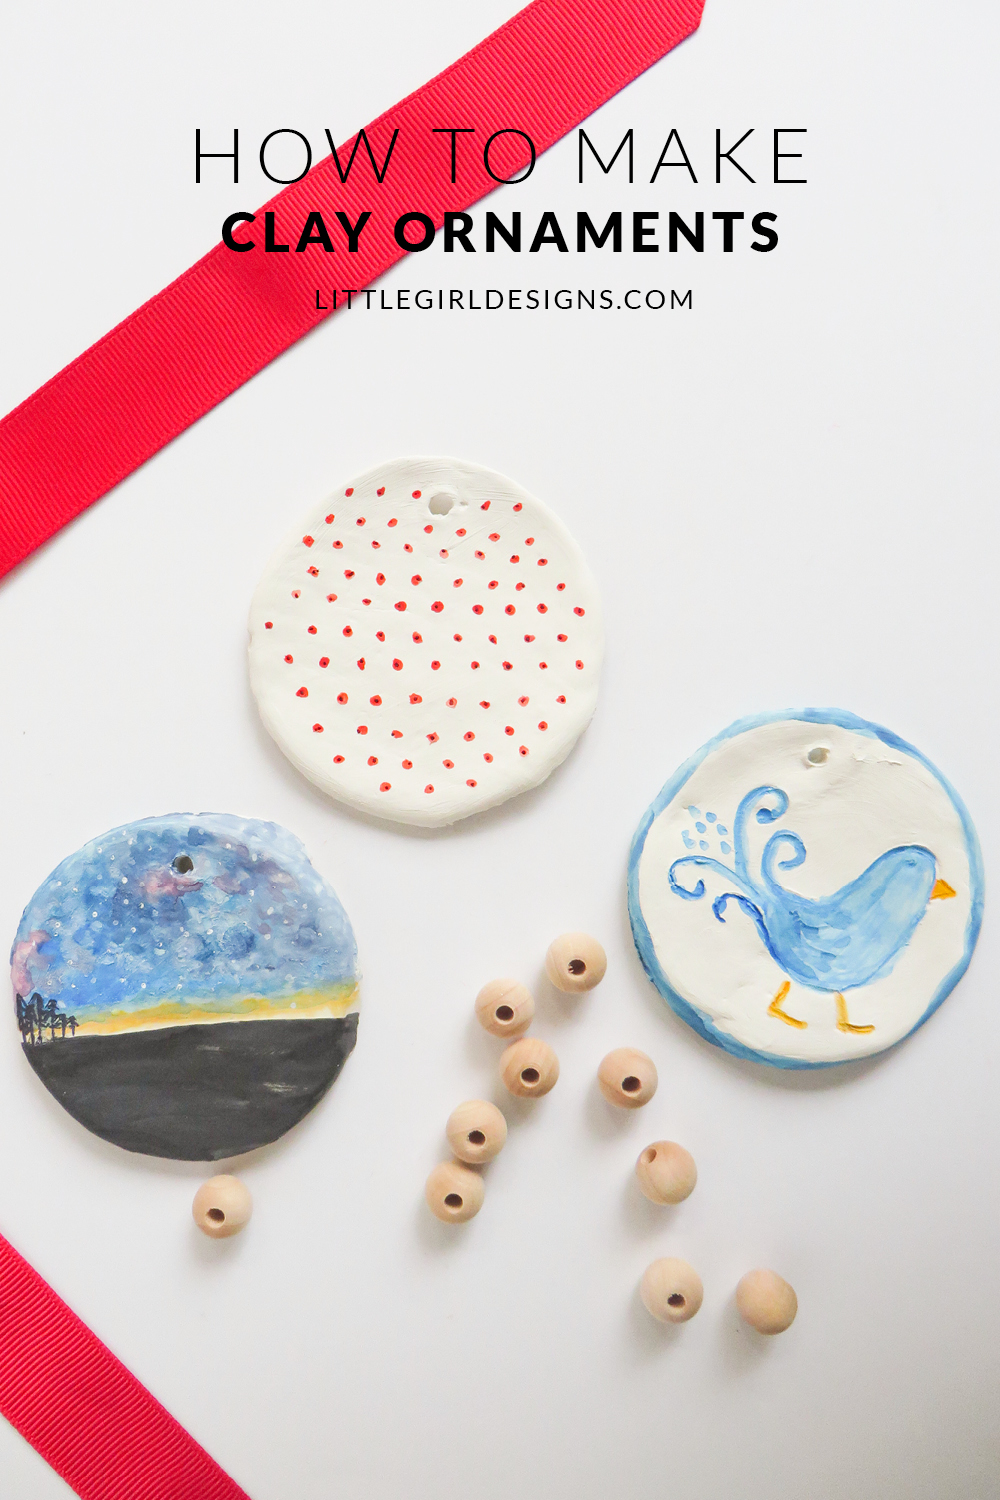
First, create your plain ornaments. Roll three (or more) pieces of clay into balls. Flatten to make circles. At this point, you can make a precise cut for the ornaments by using a circular cookie cutter or you can leave them as is for a more “rustic” look. I went for the rustic look and like how they turned out.
Use a small amount of water to smooth the edges and the surface of the clay. Take a toothpick and make a hole in the top of the ornament. Do this carefully as the clay is fairly fragile at this point. If needed, use a little bit of water to smooth that edge as well.
Now it’s time to make our designs!

To start, I experimented with covering the clay with toothpick holes. I didn’t press the toothpick all the way through, just pushed it enough to make a mark. I started off making a design but liked the uniform look better. You could make a heart, a star, or whatever you’d like.
Allow the clay to completely dry, then add polka dots of color to the holes. I used watercolor for these but you could use acrylics if you’d like. (My poor watercolors, I love them a little too much and they get pulled into all sorts of projects that are out of their norm. ;))

Next, I pulled out an old clear stamp and carefully pressed it into the clay. The fact that it was clear plastic was nice so I could position it easily but it also had the added benefit of being very easy to rinse off. If you don’t have a stamp, look around your house or garden for items that would make an interesting impression. Anything with texture looks great in clay: a leaf, a piece of fern, even an old sweater will add some fun to your ornament!
Allow this ornament to completely dry as well. When it is dry, use acrylics (or the aforementioned watercolors) to add detail to the texture. Be careful as you paint as too much liquid actually softens the clay a bit.

Next, I decided to try to make an ornament using the technique I learned in this tutorial by Inkstruck Studio. After forming the ornament and letting it dry completely, I pulled out my acrylics and watercolors to try this experiment. Because I was working with clay instead of watercolor paper, I had to modify the steps and not get the clay too wet. I also used a white gel pen to get more definition for the stars. Still, I really like how it turned out. It’s the Pacific Northwest in an ornament. 🙂
I’ll be back in January with some really cool news about a . . . well, it’s a secret! 🙂 Stay tuned, okay? If you’re a creativity-loving woman who is looking for encouragement in her creative life for the new year . . . well, I have something Just For You.
But in the meantime, I’m going to take this week to celebrate Jesus’ birth and to make lots of fun memories with my little family. I hope you have a wonderful Christmas!


One response to “How to Make Clay Ornaments”
That last one…wow. Beautiful!