
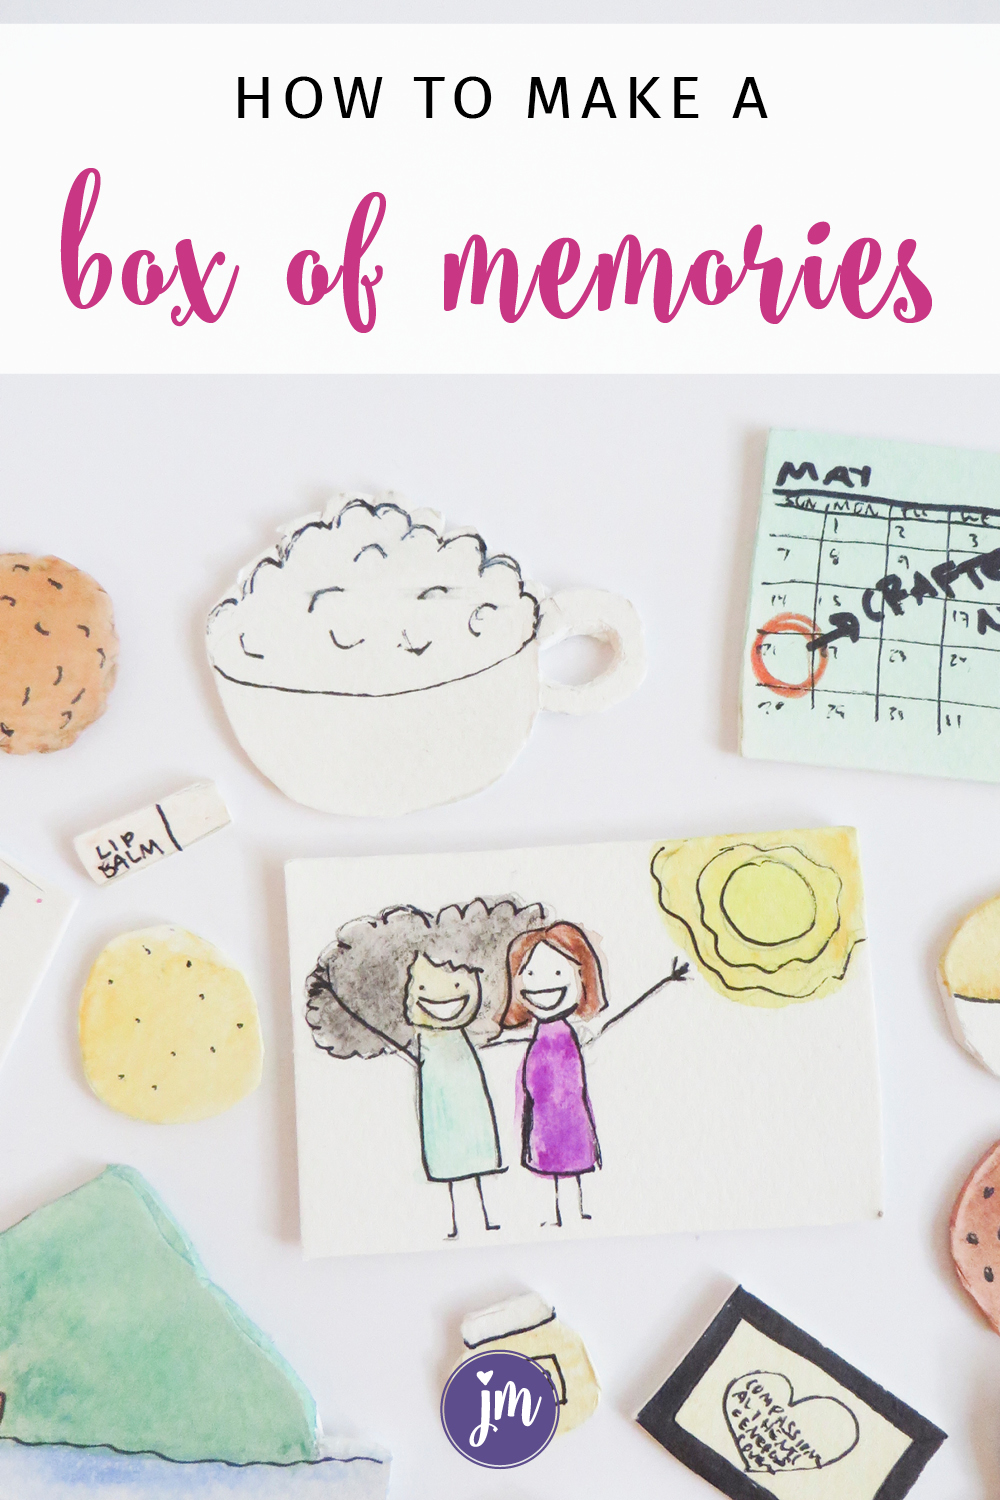
This simple box of memories is seriously my favorite gift ever. It works for friends, anniversaries, birthdays, you name it. Love it so much!
Several years ago my husband and I packed up our apartment and moved from California to Oregon. We had both lived and worked in the Los Angeles area for many years and even though I wasn’t from L.A., I had grown to love that city.
By that time, it was filled with memories—my favorite local bookstore (with delicious mochas and lattes), my favorite running routes, and my favorite beach with the kind-of-secret parking lot. In a city that big, I had found my place. Though we were moving closer to my family and to a great job opportunity for my husband, it was hard to say goodbye. (And don’t even get me started on all the great friends and family we were leaving behind!)
Enter Stephanie. I’ve mentioned her before on my blog since she is a gift-giver extraordinaire, but in this case, she completely outdid herself. As I pulled out this tiny box to photograph and talk about on the blog, I was flooded with memories and completely teared up. Goodness. This is a good gift.
In the spirit of creativity and simple DIY projects that I like to talk about here, this box of memories wins the prize. It is personal, enormously creative, simple, and will not break the bank. The biggest investment will be the time you give to this project. And judging from Stephanie’s creation, she put in a lot of time. She is an incredible friend.
How to make your own box of memories
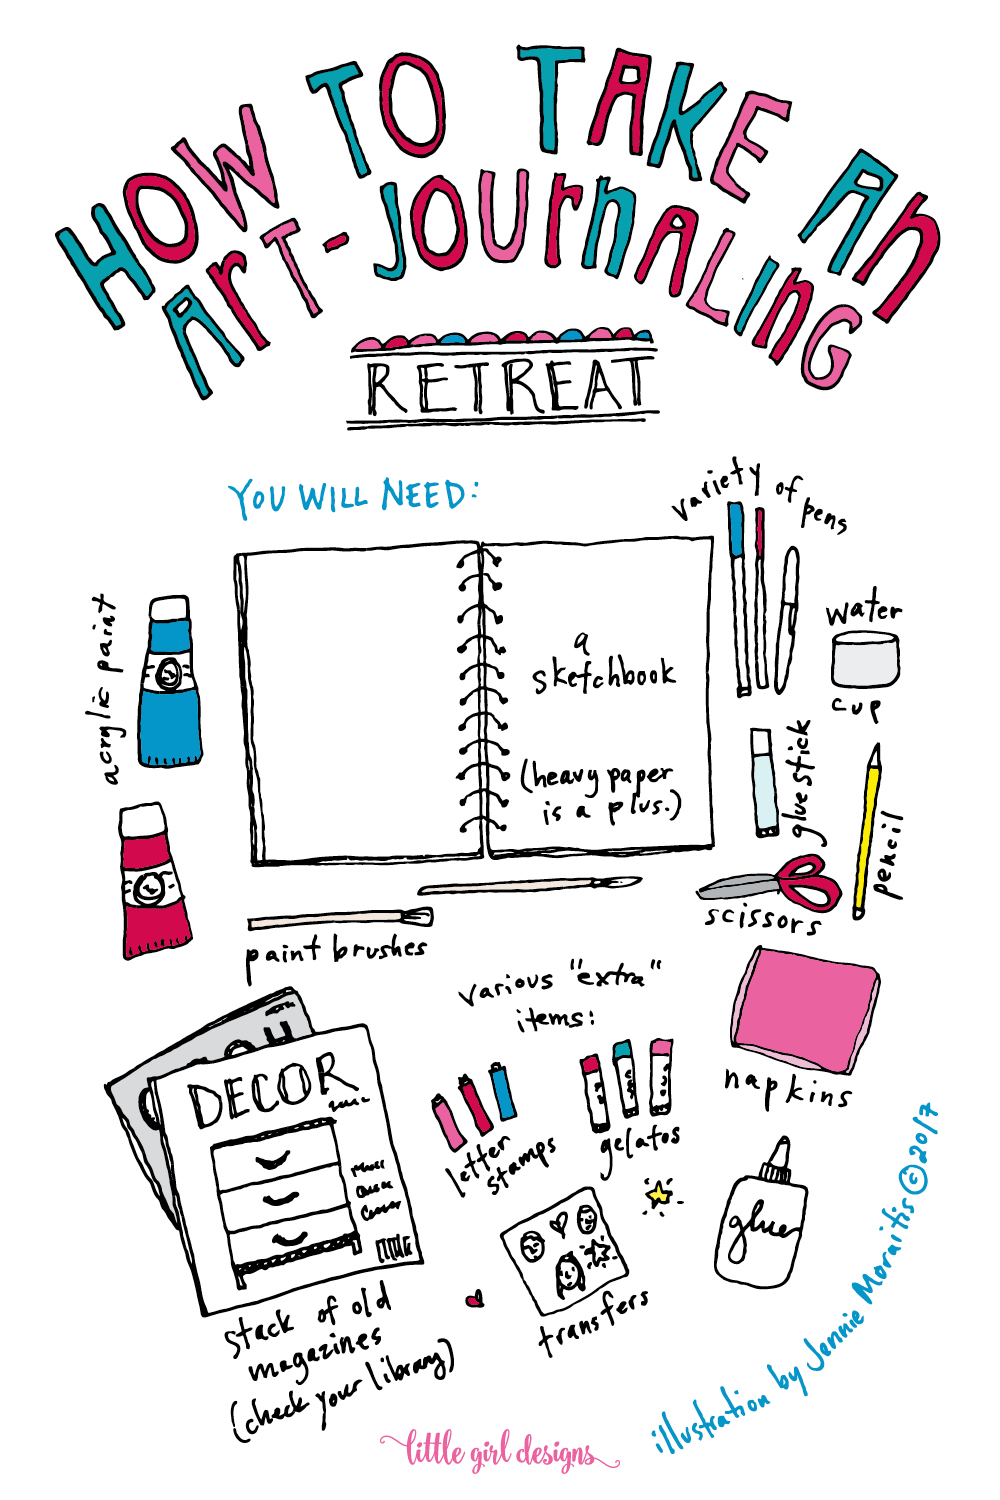
You’ll need:
One 8 1/2 x 11 piece of white illustration board or very thick card stock paper
Pens, pencils, and watercolors if you want to paint them
Scissors
A small box or tin (These would be perfect!)
Imagination
First, on a separate piece of paper, write down your ideas for memories you could illustrate. Looking through my box made me laugh because there were so many sketches of cookies, scones, and other treats. Listing out those ideas will give you an idea of where to start.

You can lightly draw your illustrations with pencil onto the card stock first or if you’re brave, you can just go ahead and draw them with ink and color them. I like to draw with pencil, draw over that with ink, and after the ink is dry, erase the pencil marks. This part is really up to your own personal preferences. Color in the illustrations as needed.
Now, cut out the illustrations, leaving a little room around them. You can also print out photos and mount them with adhesive to the illustration board before cutting out if you’re extra industrious.
You will end up with a pile of tiny memories. Place these in a tiny box—Stephanie used a darling tin—and tuck a note inside. Wrap up the box, and you’re done!
With this little box of memories, your friend will have a treasure of all of your fun times together in one place. I loved this present when I received it and all those images still remind me of all of those good times in L.A. This gift would be perfect for someone who is moving, graduating, getting married, you name it.
For another great gift idea, read my post about Write Me Back cards—yet another Stephanie gift, and one of the most popular posts on this blog.
P.S. If you look up illustration or mat board on Amazon, you can get an idea of what to look for. You can also go to an art store and finding the heaviest card stock or mat boards you can find. Note that the heavier the board, the more likely you will need to use a razor blade to cut it rather than scissors.

19 responses to “A Box of Memories”
That is incredibly thoughtful! What a sweet gift! Plus, not too expensive either.
I only photographed 1/4 of the little memories she drew–it was so sweet! And yes, totally doable for anyone even if you have a tight budget! (my favorite kind of craft :)) Thanks for stopping by! 🙂
What a darling little gift 🙂 –this is so thoughtful! It would also be a great way to remember a certain year or stage of life!
That is a great idea. Like a mini scrapbook in a box!
What lovely colorful memories! I love Oregon! My sister and her family live there.
How fun–we really love it here too. Have a great day! 🙂
what an adorable idea!
Thanks! 🙂
Thanks for sharing this great idea!
You’re welcome, thanks for stopping by! 🙂
Cute idea! This will be a treasure.
Thanks, Kim. I know mine is…so many memories! 🙂
What a special treasure. Thanks for sharing it with us at the Weekend Wind-Down party!
You’re welcome! Thanks for stopping by! 🙂 Have a great weekend!
Oh my, this is a fantastic idea! Sweet, unique and truly from the heart.
Thank you for stopping by the Thoughtful Spot Weekly Blog Hop this week. We hope to see you drop by our neck of the woods next week!
It truly is such a wonderful gift. I love going through the little paper memories. 🙂 Love your blog hop and will be back next week! 🙂 Have a great day!
Hello cute lady! This looks so amazing. Super cute. Pinned and tweeted. We appreciate you taking the time to stop by and party with us. It wouldn’t be a party without you! I hope to see you tonight at 7 pm. Lou Lou Girls
Such a great idea! Thanks so much for stopping by Creative Spark Link Party last week! Hope you stop by again today! bit.ly/1EqDIug
Thanks, Michelle! I stopped by this morning to your awesome party! 🙂 Have a great day. 🙂