
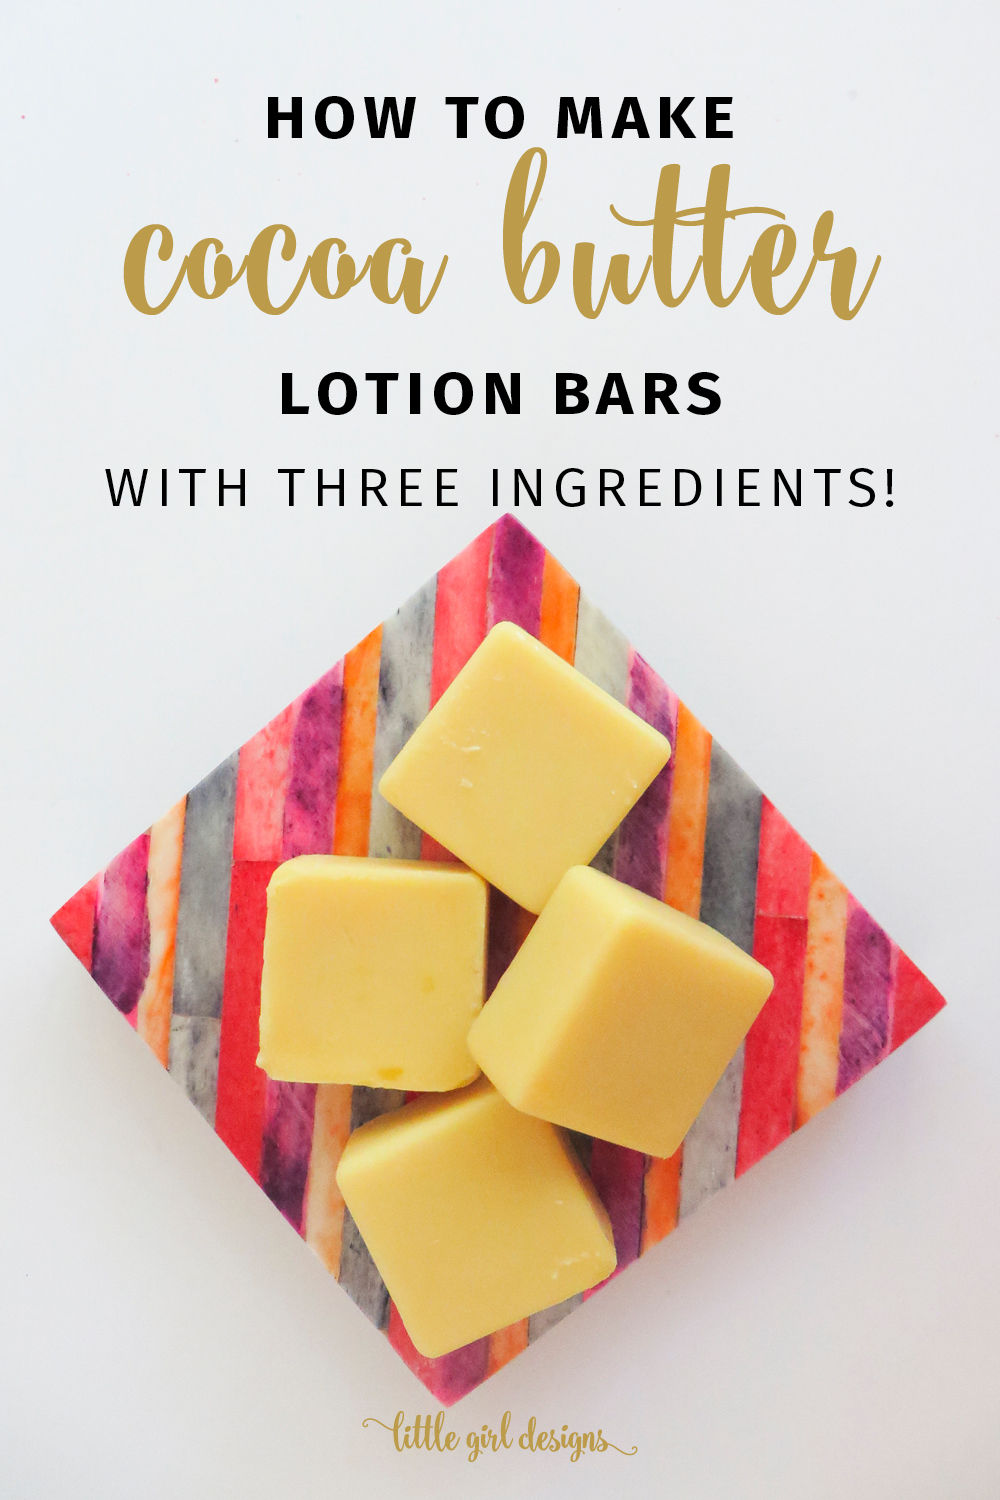
Make your own lotion bars in minutes by using this simple cocoa butter bar recipe. This natural body lotion nourishes dry skin and smells like chocolate!
Have you ever made your own cocoa butter lotion bars? I recently discovered the wonder of making my own beauty supplies—if I had known how simple many of these were to make, I would have started years ago. I especially love that I know exactly what is going in these products, because so many lotions and cosmetics these days are filled with chemicals that don’t exactly do a body good.
This recipe is for a solid lotion bar. It stays in solid form until you rub it against your skin. You can store these in glass Pyrex containers in the fridge or in a cool cupboard. They keep for a long time so you don’t need to make a huge supply.
I’ve really enjoyed using these bars. In their “plain” form, they smell like chocolate because of the cocoa butter element and with the addition of pure essential oils, they smell ah-mazing!
Okay, let’s make our own organic cocoa butter lotion bars! (Whew, that was a mouthful. :))
How to Make A Cocoa Butter Bar
First, an explanation. I recommend making this recipe in small batches, especially when you are starting out. A cocoa butter lotion bar will last longer than standard lotion in that less is needed to moisturize, so there isn’t a need to make a huge amount.
You will need to weigh your portions as they need to be equal. 1/3 cup of cocoa butter wafers will not necessarily be equal in weight to 1/3 cup of coconut oil. A simple kitchen scale works perfectly to measure exactly, and they can be bought for less than $10. If you want to make your own natural skin care products, this is an invaluable investment.
Because we are directly applying this cocoa butter bar to our skin, our largest organ, we want to make sure it is organic.
Also note that organic beeswax often has a “smoky” scent to it as some beekeepers use smoke to quiet the bees to collect the wax. If this feels inhumane to you, research your beeswax provider and learn about their collecting methods. Otherwise, you can measure out the beeswax first, and let it air out before you use it in your recipe. With the addition of essential oils, I never smell the beeswax anyway.
Please seek the advice of a trusted dermatologist if your skin is cracked or if you have a skin condition. This lotion bar recipe may be helpful to you, but I want you to be safe. Ask their advice first before using it on your skin.

You will need:
1 part Organic cocoa butter (I buy these in wafer form so they are easier to measure.)
1 part Organic beeswax (I buy these in pellet form to easily measure.)
1 part Organic coconut oil
Kitchen scale
Silicon molds (ice cube trays, like these, work great!)
2 cup Pyrex measuring cup
Pan to hold the Pyrex
Water
Essential oil(s) of your choice
Pour water in the pan and place your Pyrex measuring cup inside. Place on a burner on your stove.
Measure your ingredients so they are ready. Add the beeswax to the Pyrex, and turn the heat on. The beeswax will take the longest to melt. You may stir it with a glass stirring rod. (I’ve used a metal chopstick too.) You don’t have to stir it continuously, just here and there.
When the beeswax is melted, add the cocoa butter wafers. Buying these in wafer form makes it easier to measure, in my opinion. You will immediately notice the chocolatey smell wafting from your Pyrex. Mmm!!!
While the cocoa butter is melting, take out your silicon mold because the next part will go fast.
Once the cocoa butter is melted, stir in the coconut oil. Even though this is a liquid (or very near to one if you are not using fractionated coconut oil), it will initially harden a tiny bit when it comes into contact with the other oils. This is normal.
When all the oils are melted, turn off the heat on the stove, and use a hot pad to remove the Pyrex. Drop one drop (or more, depending on your preference) of your favorite essential oil and mix. You will need to do this quickly because this mixture will start to solidify.
Now carefully pour the hot wax into the mold. I use these silicon ice cube trays which make it really easy to pop out the cocoa butter bars when they’re solid. I only fill them half-way because that size is easier to store (for me.)
It only takes 15 minutes or so for them to solidify, so in the meantime, wash up your pans and Pyrex that you used to make your cocoa butter moisturizer. I recommend using very hot water for this as you want the oils to “melt off” the dishes. If you use cold water, you’ll be frustrated, because as you’ve probably guessed, the cold water will solidify the wax. (Learn from my mistakes! 😉
After the cocoa butter bars (or cubes) are solid, pop them out and store them in a glass Pyrex dish. I have one in a small container for my purse and that works great for on-the-go natural body lotion. Make sure the containers you use are kept out of the heat and are well-sealed as the lotion could soften. I haven’t had this happen yet, but theoretically it could, since we’re dealing with natural materials here.

I hope you enjoyed this recipe! They’re simple to make and so much better for you than the store-bought versions. AND they make awesome gifts. I want to make a bunch of these cocoa butter bars for presents this year . . . wouldn’t they be so cute wrapped up in tissue and in a little box?


One response to “How to Make a Cocoa Butter Bar”
This is great! This will make a great gift idea for my friends!